Arc
A shader for Iris & Optifine that aims to providing realistic visuals with very minimal performance loss. Almost every effect/feature can be fine-tuned for the ideal balance between performance and quality. This project is still in beta but will be reaching initial release very soon!
### Features
– HDR
– Full PBR support
– Dynamic, direct, colored block lighting
– Volumetric fog/lighting
– Automatic exposure
– Screen-space reflections
– Water waves & refraction
– Supports distorted and cascaded shadow mapping.
– Depth-of-Field
– Bloom
Also contains special support for [PhysicsMod](https://www.curseforge.com/minecraft/mc-mods/physics-mod) ocean waves & snow!
### Resource Packs
Supports LabPBR and OldPBR texture formats; The default setting for materials is “vanilla”, which hard-codes a limited set of PBR material values for the original Minecraft textures.
The recommended resource pack is [Patrix](https://www.patreon.com/patrix); when used make sure to set the shader setting for Material Format to “Patrix”, as it uses a special combination of OldPBR and LabPBR formats.
### Compatibility & Support
For best results use Iris 1.6 or later; however most features should work with Optifine or Oculus. If you have any suggestions or requests, you can reach out to me on the [ShaderLabs Discord](https://discord.gg/9CRwrfYU).
Apple Shaders
[](https://www.youtube.com/@GlacierServicesMC)
[](https://glacier.dpdns.org)
**ABOUT**
Apple Shaders is a lightweight, beautifully enhanced shader pack designed to bring natural lighting, soft colors, and smooth performance to every device. Built with clean code, optimized effects, and a focus on stability, Apple Shaders delivers a realistic visual upgrade without sacrificing FPS.
Whether you’re exploring landscapes or playing competitive modes, Apple Shaders keeps your world bright, vibrant, and immersive — all while staying incredibly fast.
Features
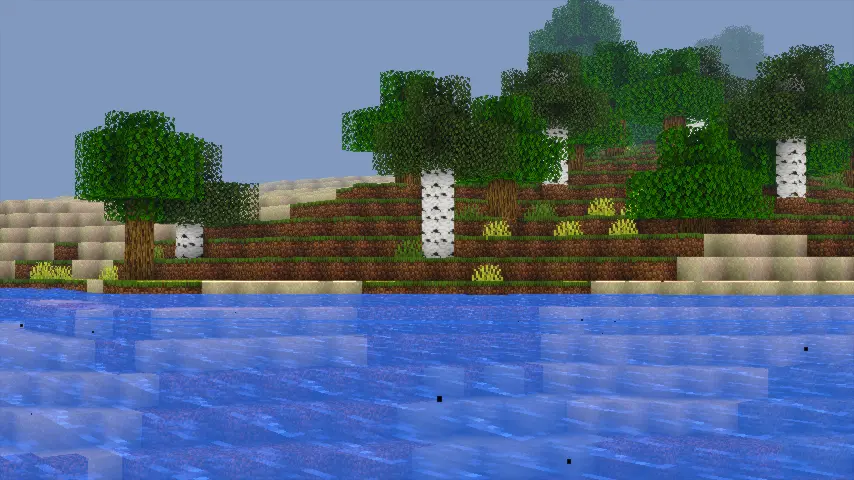
– 90s-Themed Water Waves: Nostalgic, retro-inspired water animation for a classic feel.
– 90s-Themed Waving Leaves: Smooth, natural leaf movement reminiscent of old-school visuals.
– Natural Lighting & Colors: Soft, realistic lighting that enhances Minecraft’s world.
– Optimized Performance: Lightweight and efficient for smooth gameplay on most devices.
– Immersive Experience: Brings a nostalgic yet natural atmosphere to your game.
**How to report BUGS!!**
Our GlacierDevelopment Discord server is Live you can report bugs and Chat with other GlacierShaders users, report bugs, get help with issues, and join exciting giveaways — all in one place!
[](https://discord.gg/TpsGTtTnSm)
**OFFER!!**

Anti Aliasing (TAA, FXAA)
# ABOUT:
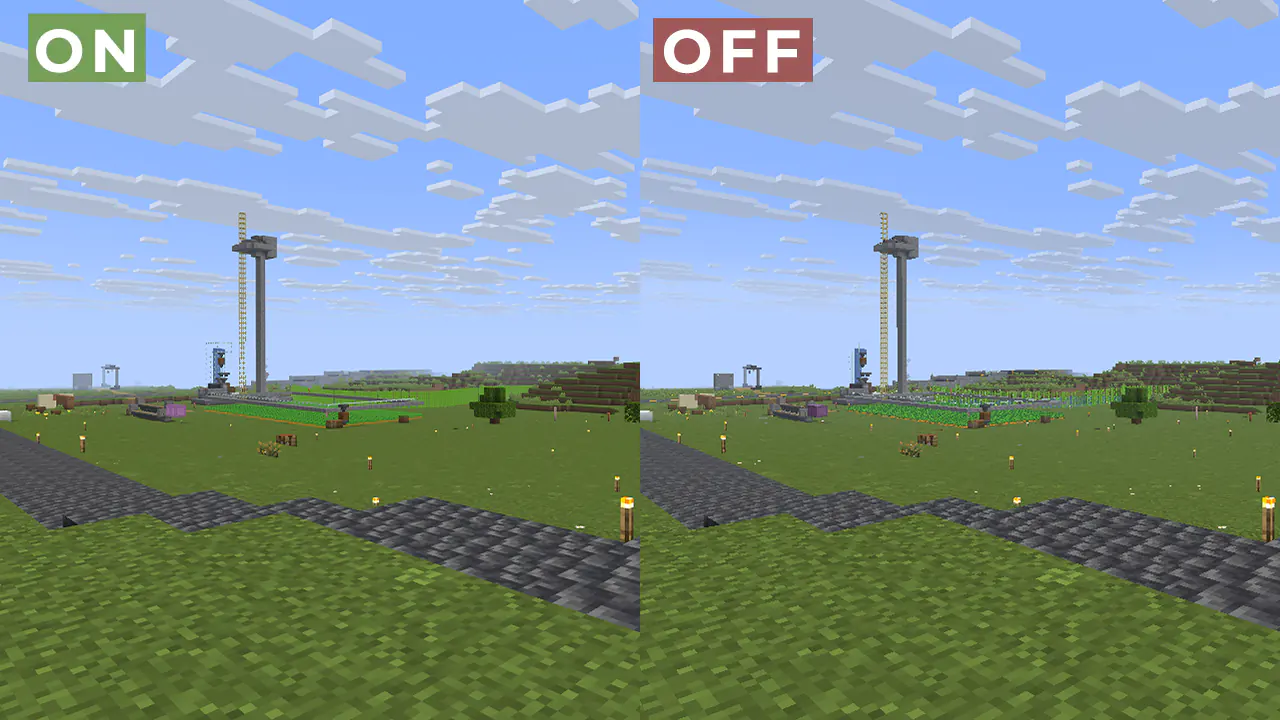
Fix aliasing on textures and object boundaries. It is designed to smooth out visual artifacts. It has two modes: FXAA and TAA. The first mode is faster, while the second is more accurate. There is also support for Distant Horizons.
### Example 1: OFF/ON
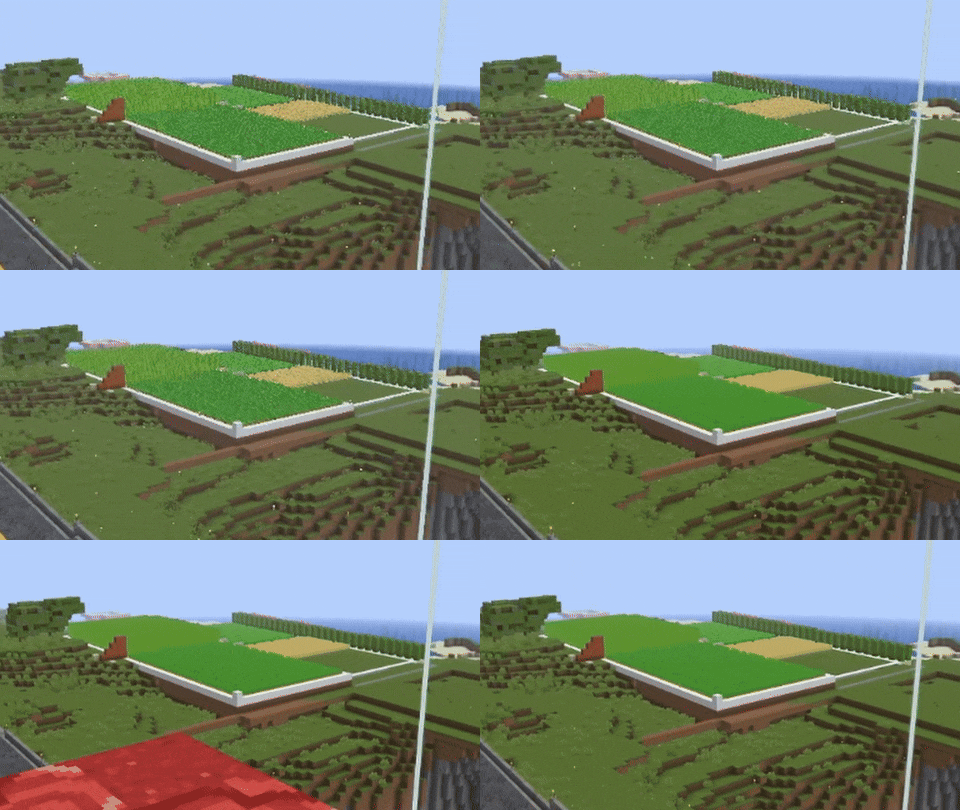
#### When turned off, the image ripples and everything twitches, when turned on, the artifacts disappear.
### Example 2:
## FAQ:
How is it different from other projects?
Fog support for all versions, new method FXAA and better performance than TAA Project.
What is the difference between FXAA and TAA?
FXAA is a simple and fast post-filter that blurs sharp edges, while TAA uses data from previous frames to produce a smoother image, especially when there is movement.
###### Part of the code, namely the implementation of TAA, was taken from TAA Project, so the license is MPL-2.0.
Animtr
A customizable Minecraft shaderpack that transforms the game into a polished anime aesthetic. eatures crisp white sticker borders with soft edges, vibrant pastel color grading, and smooth toon shading with configurable cel levels. It includes material-dependent palette corrections for water, sand, and dirt, plus optional glow effects for glowing entities and ore blocks. You can toggle on extra detail to preserve texture clarity, or enable Candy Mode for biome-specifc color boosts on foliage and water. Everything is adjustable from border thickness and opacity to hand-drawn grain and warmth—fully configurable from Minecraft’s shader settings menu.
Ancient Dream
## Ancient Dream
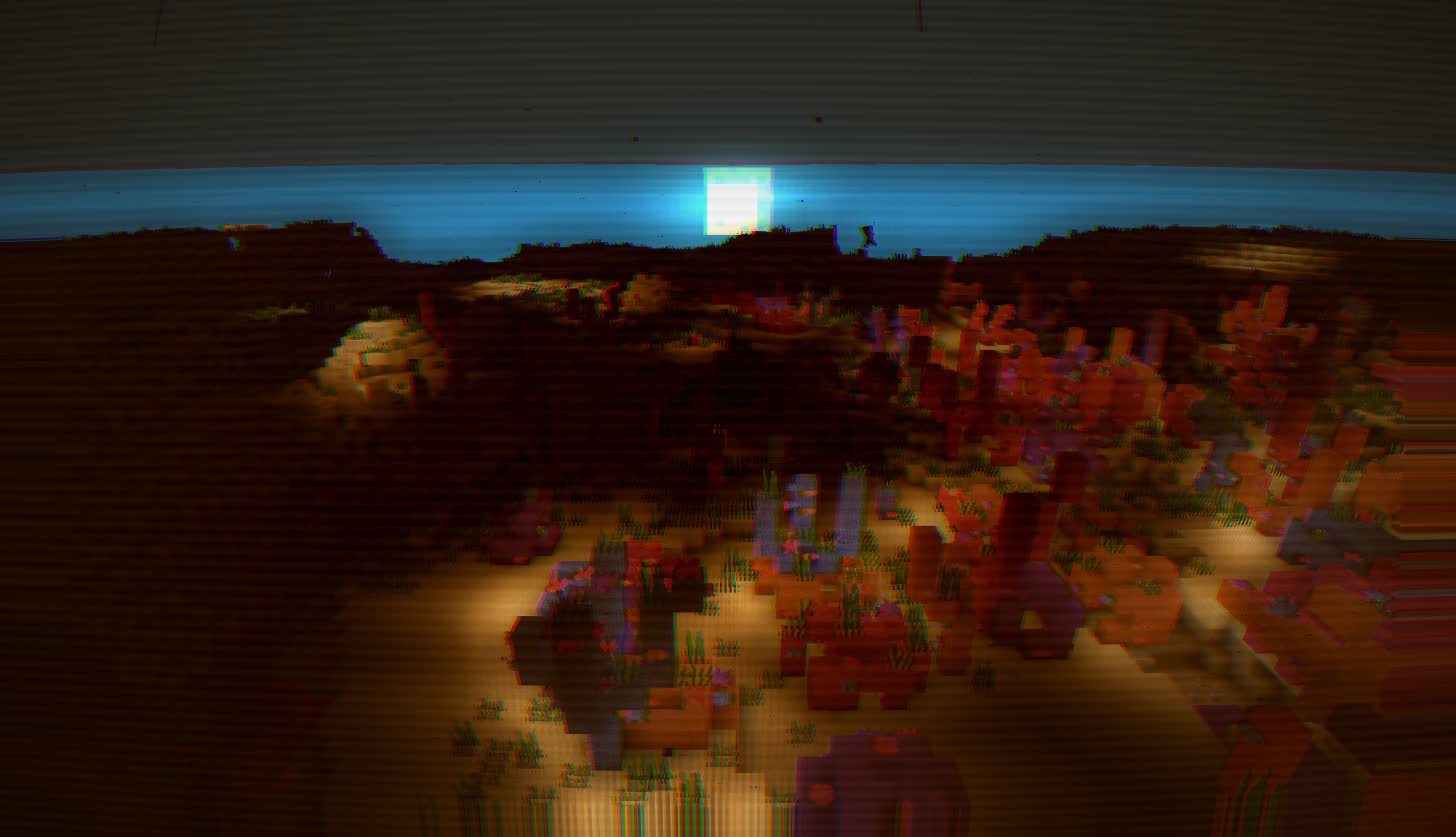
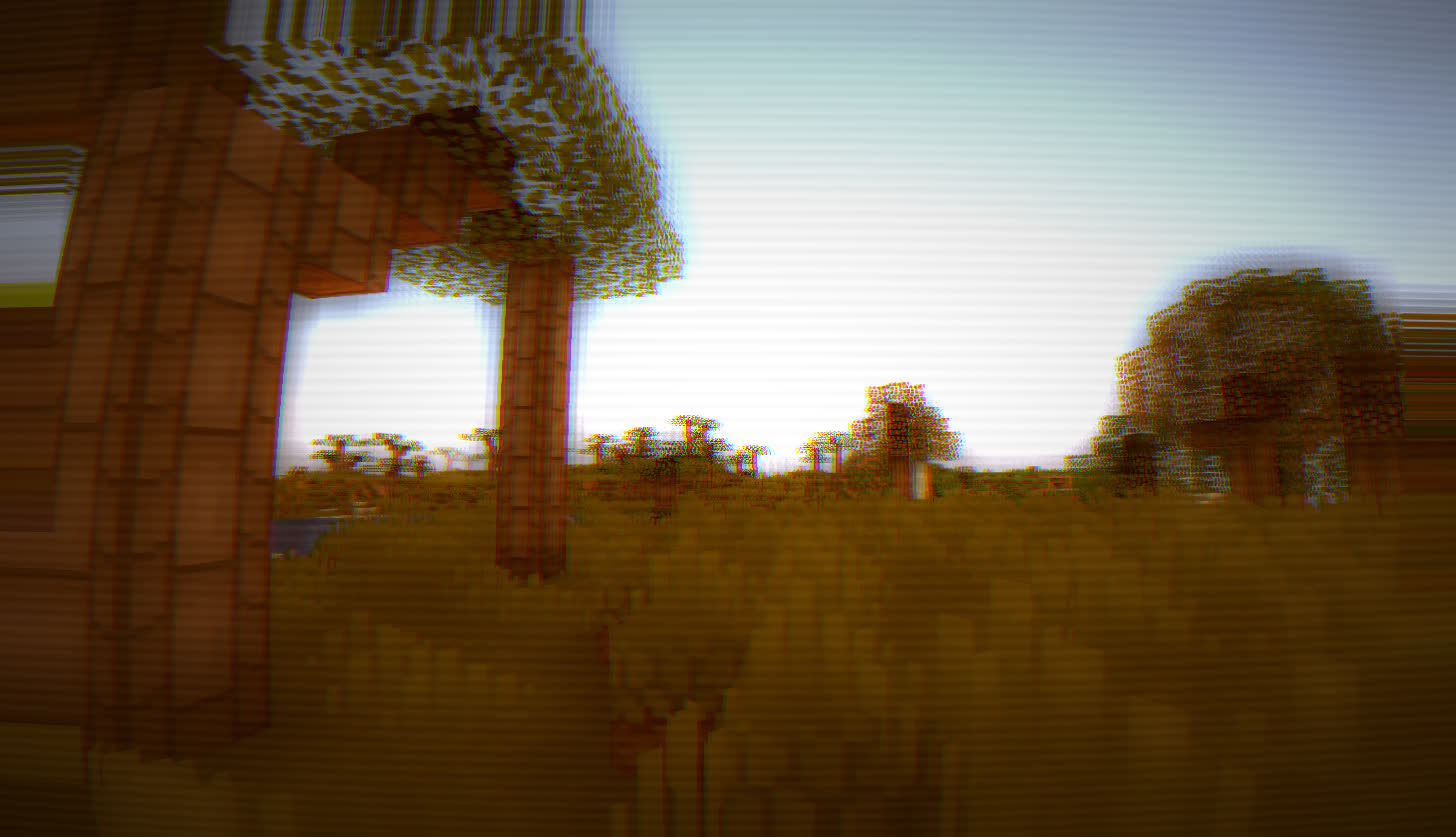
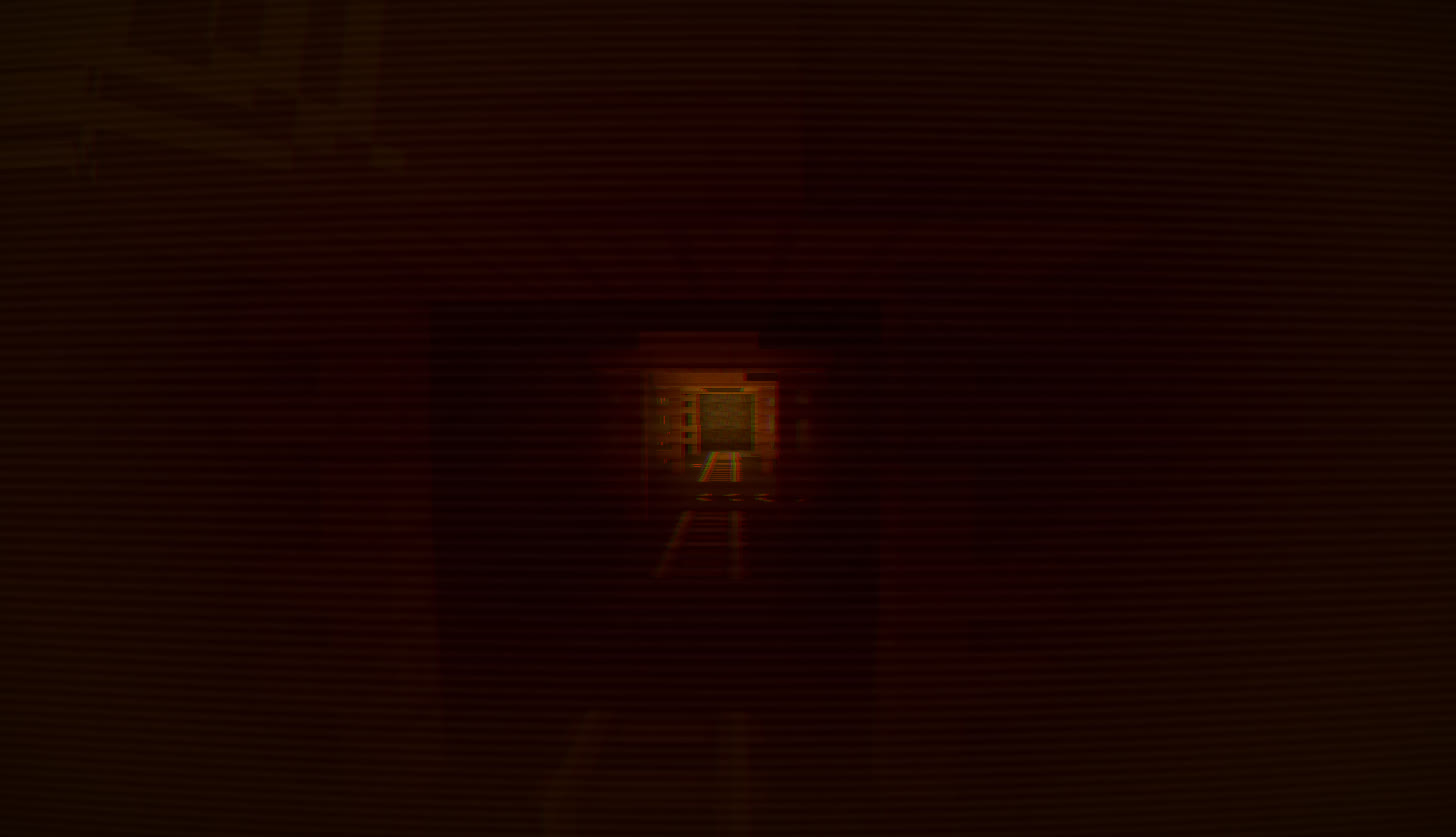
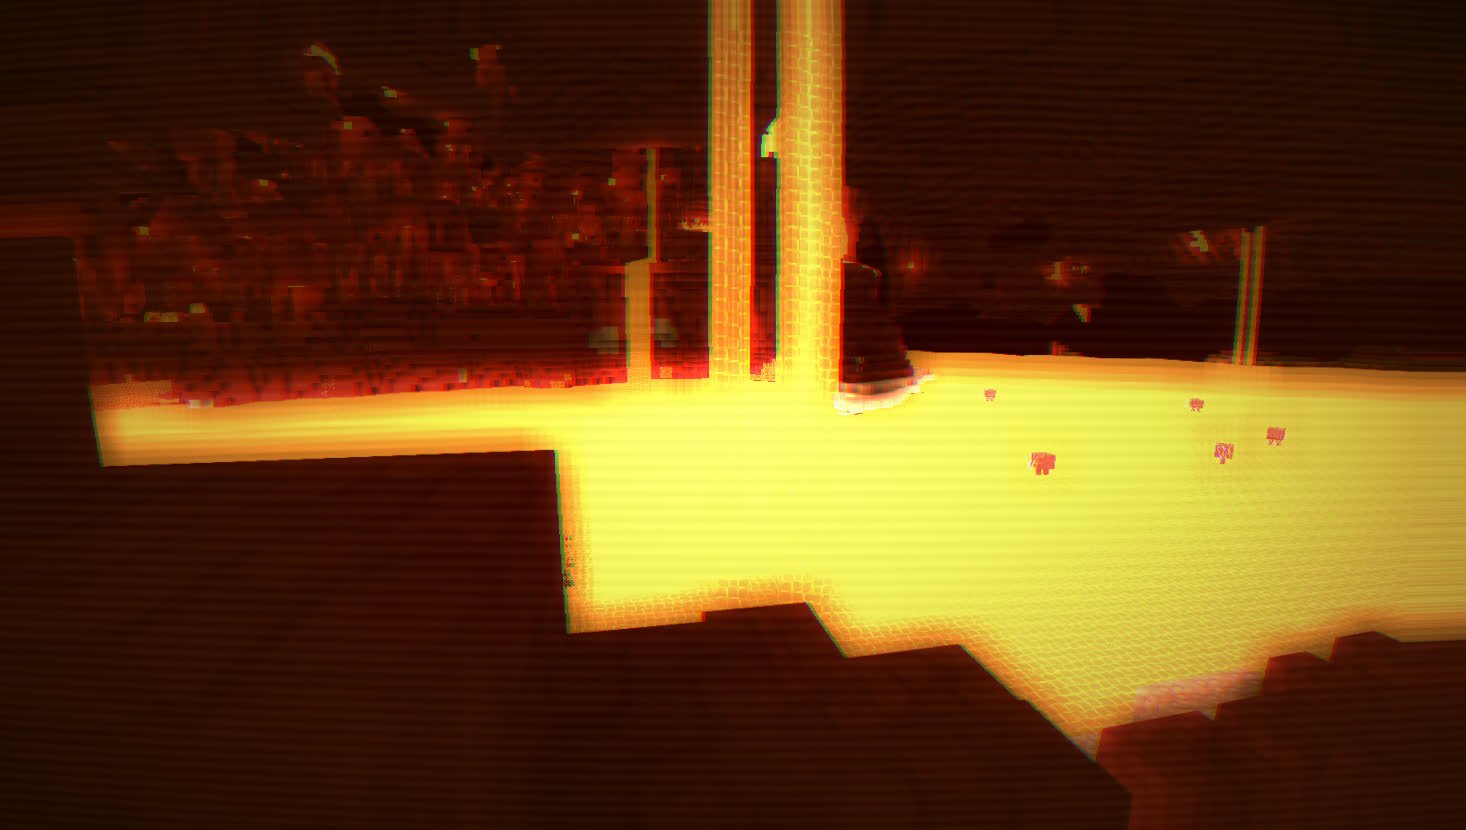
A lightweight horror-themed shader that adds visual effects while minimizing impact on gameplay and performance.
### About:
This is a stylized, mildly horror-themed shader
### System Requirements:
Minimum: Intel HD530
Recommended: GTX960m or better
Allium Shaders
# Allium Shaders

Allium is an edit of [Complementary Unbound](https://modrinth.com/shader/complementary-unbound) focused on bringing my creative vision to life. Emphasizing the beauty in colors and effects, all while staying as performant as it can be. With Allium, I hope to deliver a unique style and aesthetic that pushes my creativity to it’s limits.
v2.0 has received a massive overhaul on it’s overall look, feel and atmospherics. Even though this shader is fairly young and hasn’t received much updates, I began to feel as if the appearance was not going in a direction that I had originally intended. So I’ve spent the past couple of months revisioning what Allium should be, and what should have been. Although it’s not perfect, I have been fairly happy with how it has turned out and wanted to share it with you all. Cheers! 🙂
### Huge Thanks
– Emin for using [Complementary Unbound](https://modrinth.com/shader/complementary-unbound) as the base shader
– Query for their wonderful LUT code from [MollyVX](https://rutherin.netlify.app/mollyvx.html)
– Xonk for their RTGI and RTAO implementation
### Disclaimer
This shaderpack includes code that was generated or assisted by Artificial Intelligence. While all code has been tested for functionality and performance, users should be aware that parts of the logic (e.g., GLSL functions or noise algorithms) were created with the help of generative AI tools.
## Beta & Release Versions
### Beta
Beta versions are the most recent builds and are released regularly for public testing. If you encounter any issues, please report them.
Beta Versions here on modrinth are also limited, as they are the most stable build I am able to give out, if you want the most up to date unstable versions for testing you can visit [Allium’s Github Page](https://github.com/clorece/Allium)
### Release
Releases are stable, polished versions that result from thorough testing and iteration during the in-development phase. These builds are intended for general use and offer the best balance of visuals, performance, and reliability.
There are no official releases yet…
## Bug Reporting
If you happen to find any bugs, please report them on the [Github Page](https://github.com/clorece/Allium) by:
### 1. Create a New Issue
– Go to the Issues section and click on “New Issue”.
### 2. Provide a Clear Title and Description
– Summarize the problem in the title.
– In the description, include as much detail as possible.
### 3. Attach Relevant Media and Logs
– Include screenshots or, if applicable, videos to illustrate the issue.
– Upload log files if applicable.
Aerosol
Aerosol is a very minimal shader that improves visuals with
– Sharp shadows
– Low cost reflections
– Custom sky and fog
– Basic subsurface scattering
– Basic filtering (exponential tonemapping, gamma correction, purkinje effect)
Aerie Shaders
# Aerie Shaders
**Aerie** is a pipeline shader for Canvas that unifies the Vanilla style while adding some useful new features like TAA, bloom, autogenerated normals, and colored handheld lighting.
**Canvas** is a client-side optimization mod similar to Sodium and Optifine. It increases performance by using shaders for game rendering, and allows custom third-party shaders using an entirely different format. Aerie requires Canvas, and as such, it will never work with Optifine or Iris!
## how to use third-party shaders with canvas
1. Be sure you’re on 1.19.2 or above. Support is not guaranteed for versions that Canvas doesn’t actively support.
2. Install [Fabric](https://fabricmc.net/) and get some cool mods that you like
3. Get Canvas Renderer mod through [Modrinth](https://modrinth.com/mod/canvas). You can also find an unofficial 1.19.3 build [here](https://cdn.discordapp.com/attachments/614626265663668276/1079640291906170921/canvas-fabric-mc119-1.0.2515-SNAPSHOT.jar). **Keep in mind that Canvas does not work with Sodium, Iris, OptiFine, or OptiFabric.**
4. Download your preferred pipeline shaderpack. If you’re looking for alternatives to Aerie, try out [Lumi Lights](https://github.com/spiralhalo/LumiLights/releases), [Lomo (not for gameplay)](https://github.com/fewizz/lomo/releases), or [Forget-me-not](https://modrinth.com/shader/forgetmenot).
5. Launch your game, put your pipeline resource pack into your resource packs folder and enable the resource pack.
6. Activate your pipeline in `Options / Video Settings / Canvas / Pipeline Options / Pipelines`
## discord
You can join the discord [here](https://discord.gg/Zzn4jJapRH).
Aeon
# AEON
Minecraft shaders intended to emulate the graphic design style of early tech, as well as that of certain retro sci-fi, dithered, and other minimalist styles.
Massive thanks to Alex Charlton for their webpage on “Dithering on The GPU”. The code from there is the backbone of this shader.
## Gallery


Adaptive Outline
### This is a vanilla shader with a stroke.
The stroke brightens the light areas and darkens the dark areas.

шейдер изменём только в final.fsh
“`
#version 330 compatibility
uniform sampler2D colortex0;
uniform sampler2D depthtex0;
in vec2 texcoord;
layout(location = 0) out vec4 color;
void main() {
vec2 texel = 1.0 / vec2(textureSize(colortex0, 0));
vec4 scene = texture(colortex0, texcoord);
float d_center = 1.0 – textureLod(depthtex0, texcoord, 0.0).r;
vec2 offsets[2] = vec2[](
vec2(texel.x, 0),
vec2(texel.x * 3.0, 0)
);
float gradients[4];
for(int i = 0; i < 2; i++) {
float d_right = 1.0 - textureLod(depthtex0, texcoord + offsets[i], 0.0).r;
float d_left = 1.0 - textureLod(depthtex0, texcoord - offsets[i], 0.0).r;
gradients[i] = abs(d_right - d_left) / (offsets[i].x * 2.0);
vec2 vertical_offset = vec2(0, offsets[i].x);
float d_up = 1.0 - textureLod(depthtex0, texcoord + vertical_offset, 0.0).r;
float d_down = 1.0 - textureLod(depthtex0, texcoord - vertical_offset, 0.0).r;
gradients[i + 2] = abs(d_up - d_down) / (vertical_offset.y * 2.0);
}
float gradient_ratio_h = gradients[0] / (gradients[1] + 0.0001);
float gradient_ratio_v = gradients[2] / (gradients[3] + 0.0001);
bool is_real_edge_h = gradient_ratio_h > 2.0;
bool is_real_edge_v = gradient_ratio_v > 2.0;
float edge = 0.0;
if(is_real_edge_h || is_real_edge_v) {
float max_gradient = max(gradients[0], gradients[2]);
edge = max_gradient * 500.0;
}
float depth_precision = 0.001 + d_center * 0.01;
if(edge < depth_precision * 100.0) {
edge = 0.0;
}
float threshold = 0.15;
if(edge > threshold && (is_real_edge_h || is_real_edge_v)) {
float edge_strength = clamp((edge – threshold) * 2.0, 0.0, 1.0);
vec4 color_up = texture(colortex0, texcoord + vec2(0, texel.y));
vec4 color_down = texture(colortex0, texcoord – vec2(0, texel.y));
vec4 color_left = texture(colortex0, texcoord – vec2(texel.x, 0));
vec4 color_right = texture(colortex0, texcoord + vec2(texel.x, 0));
vec4 avg_color = (color_up + color_down + color_left + color_right) * 0.25;
float neighbor_brightness = dot(avg_color.rgb, vec3(0.299, 0.587, 0.114));
float brightness_factor;
if(neighbor_brightness > 0.35) { // here we change the change threshold
brightness_factor = 1.0 + edge_strength * 0.2; // we’re changing it here brightens
} else {
brightness_factor = 1.0 – edge_strength * 0.2; // we’re changing it here darkens
}
color.rgb = scene.rgb * brightness_factor;
color.a = scene.a;
} else {
color = scene;
}
}
“`